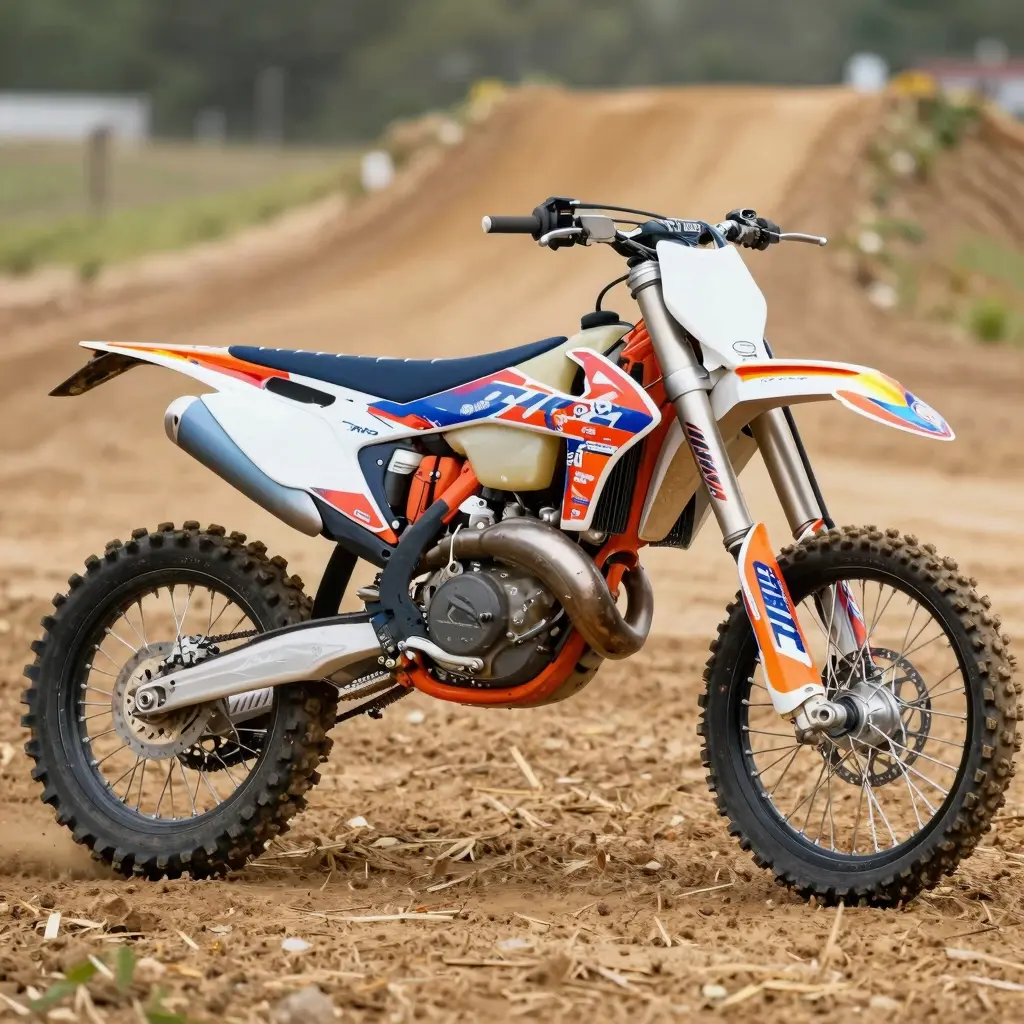
Applying graphics on a dirt bike is not only a way to enhance its aesthetics but also to provide essential protection for the bike’s surface. In the world of off-road motorcycling, your dirt bike is often exposed to various harsh environmental factors, including mud, dust, and debris, that can significantly wear down its exterior. By utilizing various graphics designs, riders can add a personalized touch that reflects their style while also acting as a protective layer against scratches and abrasions.
Additionally, applying graphics can foster a sense of ownership and pride in your motorcycle, which can enhance the overall riding experience. With options available for a range of dirt bike models, choosing the right graphics can be both fun and rewarding. Whether you’re looking for flashy designs or something more subdued, there are options to suit everyone’s taste. For those seeking to upgrade their dirt bike’s visual appeal, exploring our selection of graphics can provide ample inspiration and options. Not only will your bike look great, but you’ll also protect its value over time. In this guide, we’ll walk you through the various steps and tips on how to apply graphics on your dirt bike effectively, ensuring you achieve that perfect blend of style and protection.
Benefits of Applying Graphics on Dirt Bikes
Applying graphics on dirt bikes not only adds style but also serves several practical purposes. Here are some specific benefits:
- Customization: Riders can express their unique personality and style through custom graphics, making each bike stand out. This personalization enhances the overall riding experience and reflects the rider’s individuality. Learn more about custom graphics options.
- Protection from Scratches: High-quality graphics act as a protective layer for the bike’s original paint, reducing the risk of scratches and wear from riding in rugged conditions. This preservation helps maintain the bike’s appearance over time.
- Enhancing Resale Value: Customized and well-maintained graphics can potentially enhance the resale value of a dirt bike. Buyers often prefer bikes with appealing graphics, as they reflect care and customization. This factor might lead to achieving a higher selling price.
- Improved Visibility: Graphics can improve visibility on the track or trail, especially in competitive settings. Bright colors and unique designs help in distinguishing the rider from others, which is crucial during races.
- Durability: Many modern graphic kits are designed to withstand harsh environmental conditions, including rain, sun, and mud, ensuring they remain vibrant and intact over time. This durability is essential for active riders who frequently ride off-road.
- Aesthetic Appeal: Adding graphics significantly enhances the bike’s aesthetic, turning an ordinary dirt bike into a visually stunning machine. Personal flair through graphics contributes to the overall enjoyment of riding.
In conclusion, applying graphics is a worthwhile investment for any dirt bike owner. Whether it’s for personal expression or protection, the benefits are numerous and impactful. For a wide variety of graphics, check out MotoGraphics.
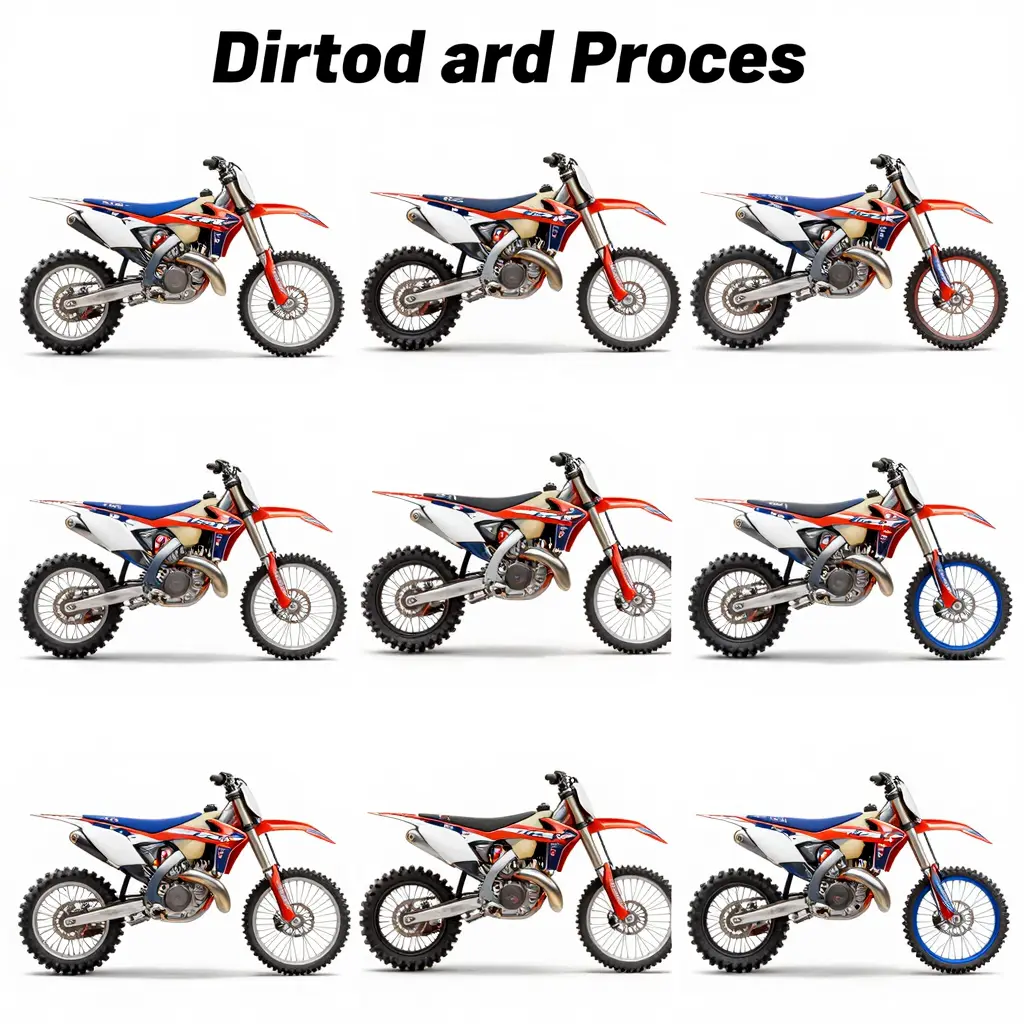
Understanding Different Types of Graphics for Dirt Bikes
When it comes to customizing your dirt bike, selecting the right graphics is crucial for both aesthetics and personal expression. Here’s a breakdown of the various types of dirt bike graphics available, including vinyl graphics, stickers, and wraps, along with their advantages.
1. Vinyl Graphics
Vinyl graphics are made from durable, weather-resistant vinyl, making them ideal for off-road conditions. They can be customized to fit different dirt bike models, offering a unique design that stands out.
Advantages of Vinyl Graphics:
- Durability: Vinyl is resistant to fading, cracking, and peeling, ensuring your design lasts longer.
- Customization: You can choose from a wide range of colors and designs tailored to your personal style.
- Protection: Vinyl graphics can help protect the bike’s original paint from scratches and UV damage.
Many motorcycle owners are opting for products from reputable sources such as DeCal Works and MotoProWorks, which provide high-quality vinyl graphic kits specifically designed for various dirt bike models.
2. Stickers
Stickers are an easy and affordable way to apply graphics to your dirt bike. They come in various shapes, sizes, and designs, allowing you to mix and match different elements. Some popular options include numbers, logos, and brand-specific decals.
Advantages of Stickers:
- Affordability: Stickers are generally cheaper than full graphic kits and can be replaced easily.
- Easy Application: They can be applied quickly without the need for special skills, making them a favorite among DIY enthusiasts.
- Versatility: You can change stickers as trends change or for special events.
Stickers can be found at sources like BTO Sports, which provides a comprehensive selection of dirt bike stickers and decals.
3. Wraps
Wraps provide a sleek look while offering high levels of customization. Unlike vinyl graphics that are usually contour-cut, wraps cover the entire surface area of the bike for a seamless look. They are an excellent choice for those looking for a complete transformation.
Advantages of Wraps:
- Coverage: Wraps can cover imperfections and provide a new look without the need for paint.
- High-Quality Print: They allow for vibrant, high-resolution designs, giving a professional appearance.
- Reversibility: Wraps can be removed without damaging the bike’s original paint, making them ideal for those who like to change designs.
For wrap options, you might explore brands like Rival Ink Design Co, which specializes in custom motocross graphics.
Conclusion
Selecting the right type of graphic for your dirt bike is essential in showcasing your style while ensuring protection and durability. Whether you choose vinyl graphics, stickers, or wraps, each offers unique advantages that can enhance your riding experience. Make sure to explore various graphics kits specific to your bike model to find the perfect match!

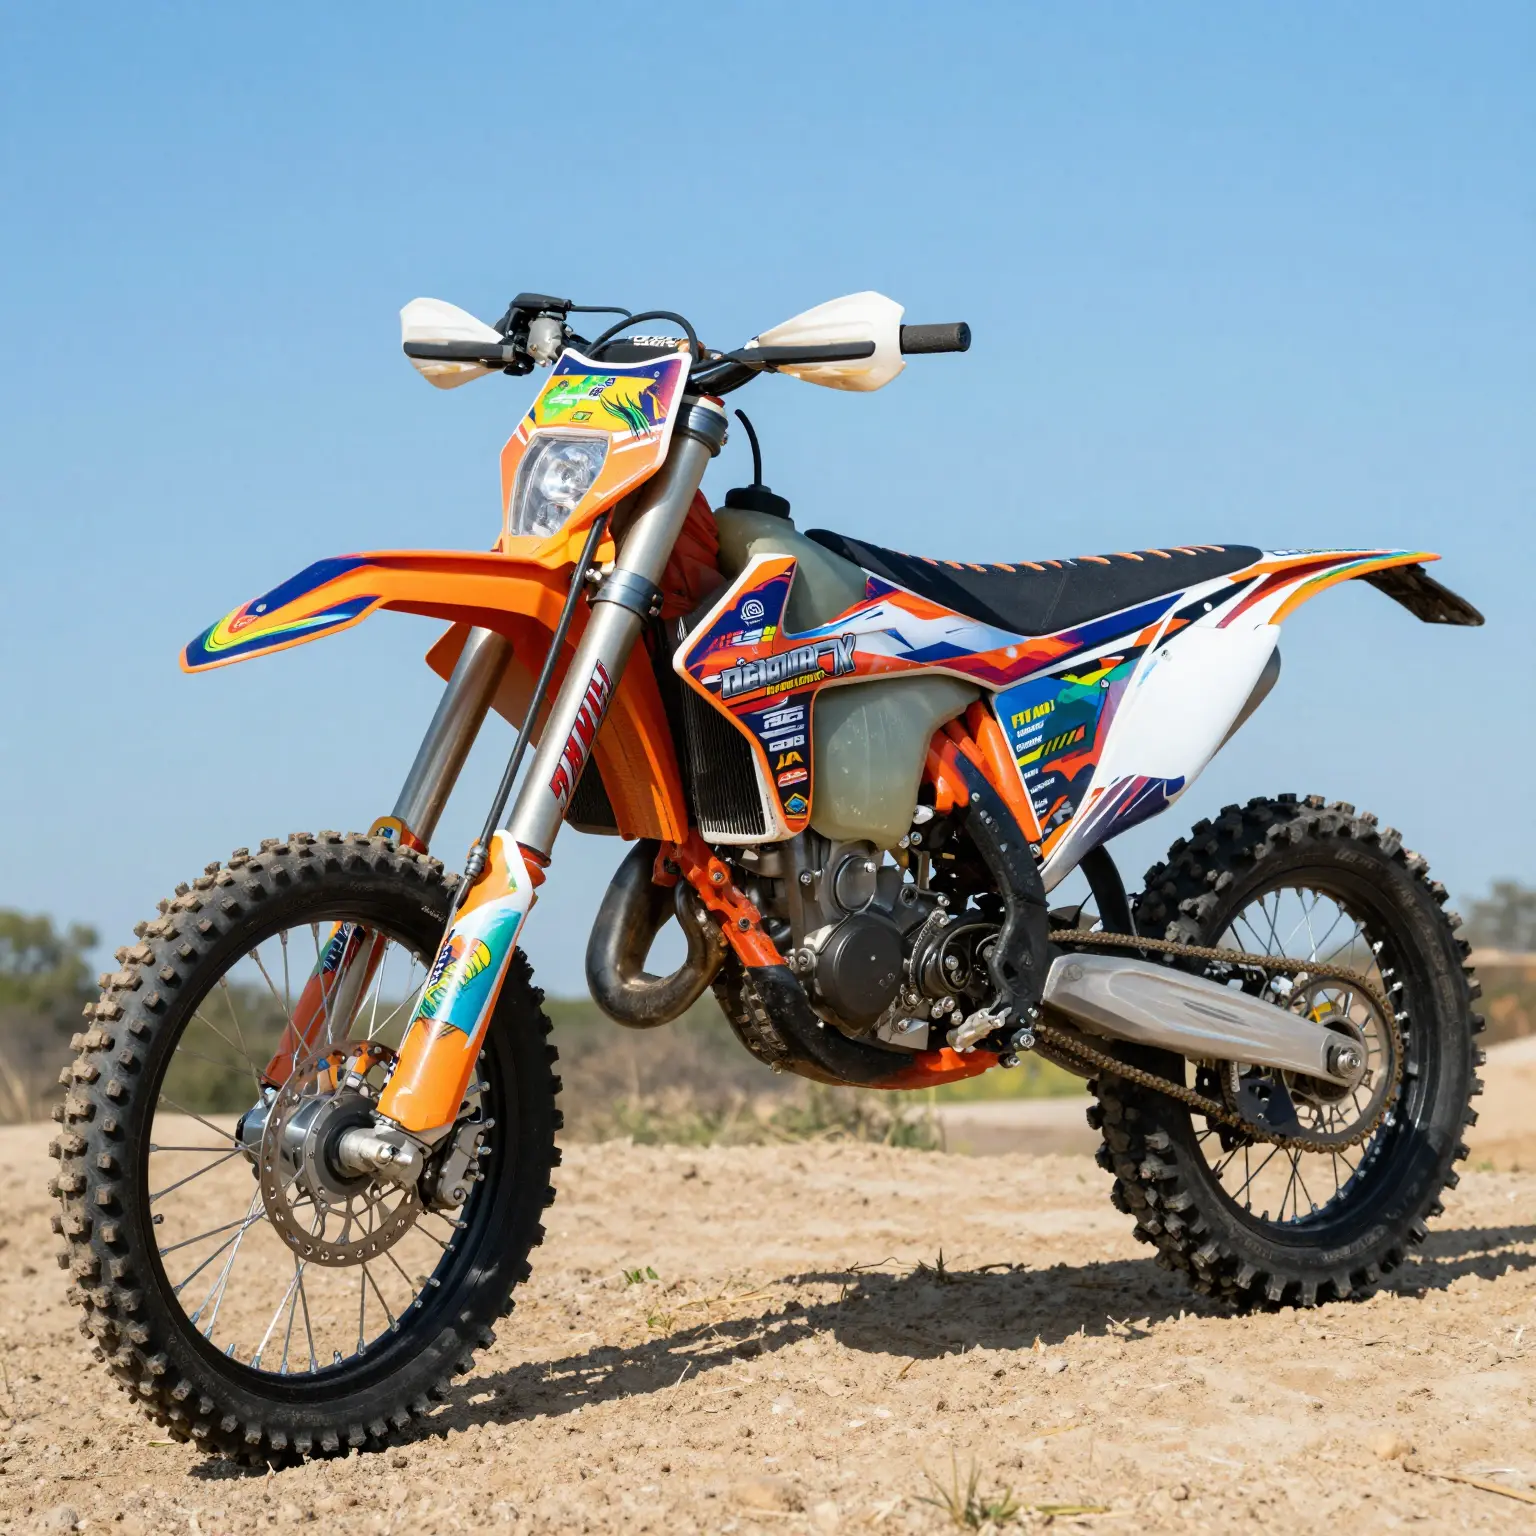
Step-by-Step Guide to Applying Graphics on Your Dirt Bike
Applying graphics to your dirt bike can not only enhance its aesthetic appeal but also protect the plastic from wear and tear. This guide offers a comprehensive look at how to properly apply graphics, including tools needed, preparation, techniques, and common mistakes to avoid.
Tools Needed
To get started, ensure you have the following tools:
- Graphic kit: A custom graphic kit specific to your dirt bike model. Explore graphic kits here.
- Heat gun or hairdryer: For applying heat to the graphics and ensuring proper adherence.
- Spray bottle with soapy water: A mix of soap and water will help in positioning the graphics without sticking immediately.
- Razor blade or utility knife: Necessary for trimming and cutting the graphics accurately.
- Squeegee: This will help you smooth out bubbles and wrinkles during the application.
- Clean cloths or paper towels: For cleaning your dirt bike and drying surfaces.
- Alcohol or adhesive remover: To thoroughly clean the surfaces before applying graphics.
Preparation
Before applying the graphics, preparation is crucial for achieving the best results:
- Clean the surfaces: Use a mixture of water and soap to wash your dirt bike’s plastics thoroughly. Removing dust, grease, and oil will enhance adhesion.
- Dry the surface: Make sure all areas are completely dry before proceeding to the next step.
- Remove old graphics: If replacing existing graphics, carefully peel them off to avoid residue. Use a heat gun if they are stubborn.
- Degrease: Wipe the surfaces with alcohol or an adhesive remover to eliminate any remaining grease and ensure a clean application.
Applying the Graphics
Now that you’ve prepared the surfaces, it’s time to apply your graphics:
- Position the graphics: Lay the graphic in place, using the soapy water spray to adjust it if necessary. It allows the graphic to slide before you press it down.
- Anchor one corner: Start at one corner of the graphic to hold it in place while you smooth it down.
- Use the squeegee: From the anchored corner, use the squeegee to push out bubbles and water. Work your way toward the other edges, overlapping the strokes to avoid trapping air bubbles.
- Apply heat: Use a heat gun or hairdryer to apply gentle heat to the graphics. This helps them adhere better and conform to the bike’s contours. Be careful not to overheat, which could damage the graphics.
- Trim the graphics: If needed, use a razor blade to trim any excess graphic material to fit perfectly on the bike.
- Final smoothing: Once the graphics are in place, go over them once more with the squeegee to ensure they are firmly adhered without any air bubbles.
Best Practices
To ensure a professional finish and longevity of the graphics, follow these best practices:
- Avoid direct sunlight: Do not apply graphics in direct sunlight as it can affect adhesion.
- Temperature matters: Ideally, work in a warm environment. Cold temperatures can make the graphics harder to manipulate and adhere properly.
- Patience is key: Take your time aligning the graphics before you apply them firmly.
Common Mistakes to Avoid
Here are some common mistakes that can hinder your graphic application process:
- Skipping the cleaning step: Never apply graphics on dirty surfaces; it results in poor adhesion.
- Neglecting alignment: Make sure you align the graphics carefully before sealing them down. Once they stick, repositioning can be difficult.
- Applying without heat: Not using heat during application can lead to air bubbles and a less secure fit.
- Ignoring instructions: If your graphic kit comes with specific guidelines from the manufacturer, follow those instructions.
Conclusion
Applying graphics on your dirt bike is relatively easy if approached correctly. With the right tools, preparation, and techniques, you can improve both the look of your dirt bike and its protection. For a variety of graphic kits suitable for your bike, explore our collection of dirt bike graphics. Happy riding!
Here is a comparison table of popular graphic vendors for dirt bikes, focusing on price, quality, and customer reviews.
| Vendor | Price Range | Quality | Customer Reviews |
|---|---|---|---|
| OMX Graphics | $$ | Custom designs, high quality | Positive reviews for customization process |
| Backyard Design USA | $$ | Premium quality, quick proofs | Highly rated for design flexibility |
| Rival Ink Design Co. | $$ | Premium quality & durability | Generally positive feedback from users |
| BikeGraphix | $$ | High-quality motocross graphics | Good reviews on quality & service |
| Omega Moto Graphics | $$ | Race-proven durability | Positive reviews on material quality |
Summary
- Each vendor has a variety of offers tailored to different bike models and rider preferences.
- It’s crucial to consider the quality of materials and customer service, especially in customization, to ensure satisfaction with the purchase.
For more insights on high-quality graphics suited for your bike, feel free to check out this link.
By comparing them using this table, motorcycle owners, repair shops, and technicians can make informed decisions on which graphic vendor suits their needs best.
Applying graphics to your dirt bike can be a rewarding process that enhances its look and personalizes it to match your style. However, many motorcycle technicians and enthusiasts often make mistakes during this procedure that can lead to less than satisfactory results. Here are some common pitfalls to steer clear of, along with practical advice on how to avoid them.
1. Neglecting Surface Preparation
One of the fundamental steps that many forget is preparing the bike’s surface. Neglecting to clean the surface properly can lead to poor adhesion, causing the graphics to lift or bubble over time.
Solution:
- Make sure to thoroughly wash the area where the graphics will be applied. Use isopropyl alcohol for cleaning, as it removes oils and dirt without leaving residues. Allow the surface to dry completely before proceeding.
2. Rushing the Installation Process
In their eagerness, many technicians rush through the installation process. This can result in misaligned graphics, air bubbles, and a completed appearance that isn’t as professional as expected. Rushing can lead to mistakes that may require a complete redo.
Solution:
- Take your time and follow each step methodically. Consider laying out the graphics without peeling the backing first to visualize placement before applying.
3. Skipping the Use of Heat
Many forget that applying heat can be beneficial. Skipping this step can result in graphics that aren’t as malleable and can thus create creases or wrinkles during application.
Solution:
- Use a heat gun or a hairdryer after cleaning the graphics to make the material more flexible. This will allow for better conformity to the bike’s curves.
4. Not Paying Attention to Alignment
Misalignment can be one of the most frustrating issues encountered. If the graphic isn’t applied correctly, it may not only look off, but it can also affect the performance, especially if it’s on a functional area.
Solution:
- Use a level or a measuring tape to ensure that everything is straight. Starting at the center and working your way outwards can also allow for better control over alignment.
5. Applying Graphics in Poor Conditions
Environmental factors can significantly affect the graphics application process. Applying decals in high humidity or in direct sunlight can lead to bubbling, fading, and uneven adhesion.
Solution:
- Ideally, work in a controlled environment. A garage or workspace with stable temperature and humidity can greatly improve results. Choose a day that isn’t overly humid or too hot.
6. Ignoring Manufacturer Guidelines
Each graphic style often comes with specific installation guidelines that are unique to the material used. Ignoring these can lead to applying techniques that the graphic wasn’t designed for, resulting in premature peeling or damage.
Solution:
- Always read the installation instructions provided by the manufacturer. Each product may have unique nuances that are critical for a successful application.
7. Failing to Allow for Curing Time
Many technicians apply graphics and hope for immediate use without considering the curing time. Failing to allow adequate time can lead to premature lifting or damage during normal use.
Solution:
- Be sure to read the instructions regarding curing times and refrain from exposing the graphics to moisture or stress until fully cured. This could be anywhere from 24 to 48 hours depending on the material and environmental conditions.
Summary
Avoiding these common mistakes can result in a more professional finish and enhance the longevity of the graphics on your dirt bike. For a wide range of graphic options, consider exploring the selection available at MotoGraphics which caters specifically to various motorcycle models and designs.
By taking the necessary precautions and adhering to best practices, you can ensure that your bike’s graphics not only look great but also stand the test of time. For further insights on application techniques, you can check this guide on applying graphics.
With the right knowledge and care, applying graphics can be a fulfilling process that adds flair to your ride.
Average Installation Time for Dirtbike Graphics
Understanding the average installation time for different types of graphics on dirt bikes can greatly aid motorcycle owners, repair shops, and technicians alike. The table below summarizes the average times based on user feedback and expert insights:
| Graphics Category | Average Installation Time |
|---|---|
| Basic Vinyl Graphics | 30 minutes |
| Premium Vinyl Graphics | 1 hour |
| Custom Graphics | 1.5 hours |
| Full Plastic Kits | 2 hours |
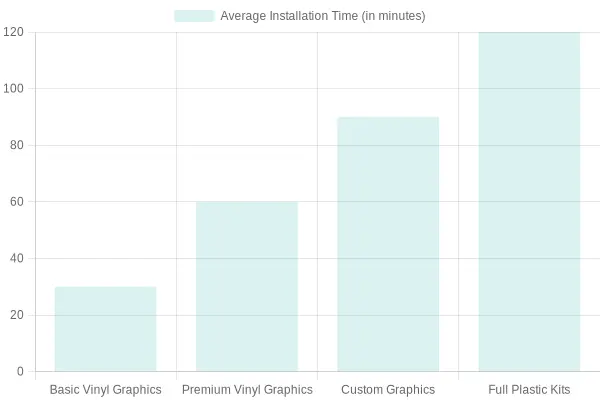
Key Insights:
- Basic Vinyl Graphics are the quickest to install, ideal for beginners or quick updates.
- Premium Vinyl Graphics take a bit longer but offer durability and custom looks.
- Custom Graphics require more effort, ensuring a unique appearance tailored to personal preferences.
- Full Plastic Kits necessitate the most time but often yield the most comprehensive transformation for dirt bikes.
These times can vary based on the skill level of the installer and the specific requirements of the graphics being applied. For more tips on applying graphics, you can learn more about dirt bike graphics.
For specific designs and options you can check out our available graphics.
Conclusion
In conclusion, applying graphics on your dirt bike not only enhances its visual appeal but also provides a layer of personalization that sets your ride apart from the crowd. By following the steps outlined in this article, you can transform your bike into a standout piece of art that reflects your personality and passion for motocross. From selecting the right graphics to the application process, each step is crucial for achieving a professional-looking finish. Whether you’re a seasoned technician or a motorcycle enthusiast, these skills will serve you well in the long run.
The benefits of applying graphics go beyond aesthetics; they can also protect the bike’s surface from wear and tear. Opting for high-quality materials can help maintain the bike’s resale value while ensuring that you get the most out of your ride. Furthermore, customizing your dirt bike with unique graphics can make it easier to spot among a sea of bikes at events, bringing a sense of pride every time you hit the trails.
Don’t just take our word for it; give it a try! Dive into our extensive range of graphics available at MotoGraphics to find designs that resonate with your style. If you’re unsure where to start, consider reaching out to professionals who specialize in motorcycle enhancement. They can guide you through the process or even handle the installation for you, ensuring a flawless finish.
So gear up and embrace the opportunity to enhance your dirt bike’s performance and appearance. Visit MotoGraphics’ product categories today and explore the variety that awaits. Take the plunge and transform your ride-because every dirt bike deserves to look as brilliant as it performs!
“Customization is a journey, a personal expression that brings your motorcycle to life. Embrace your creativity, prioritize safety, and remember to share laughter on the open road.” – Eagle Leather
This quote emphasizes the importance of customization not just as a form of personal expression but also as an integral part of the rider’s relationship with their motorcycle.